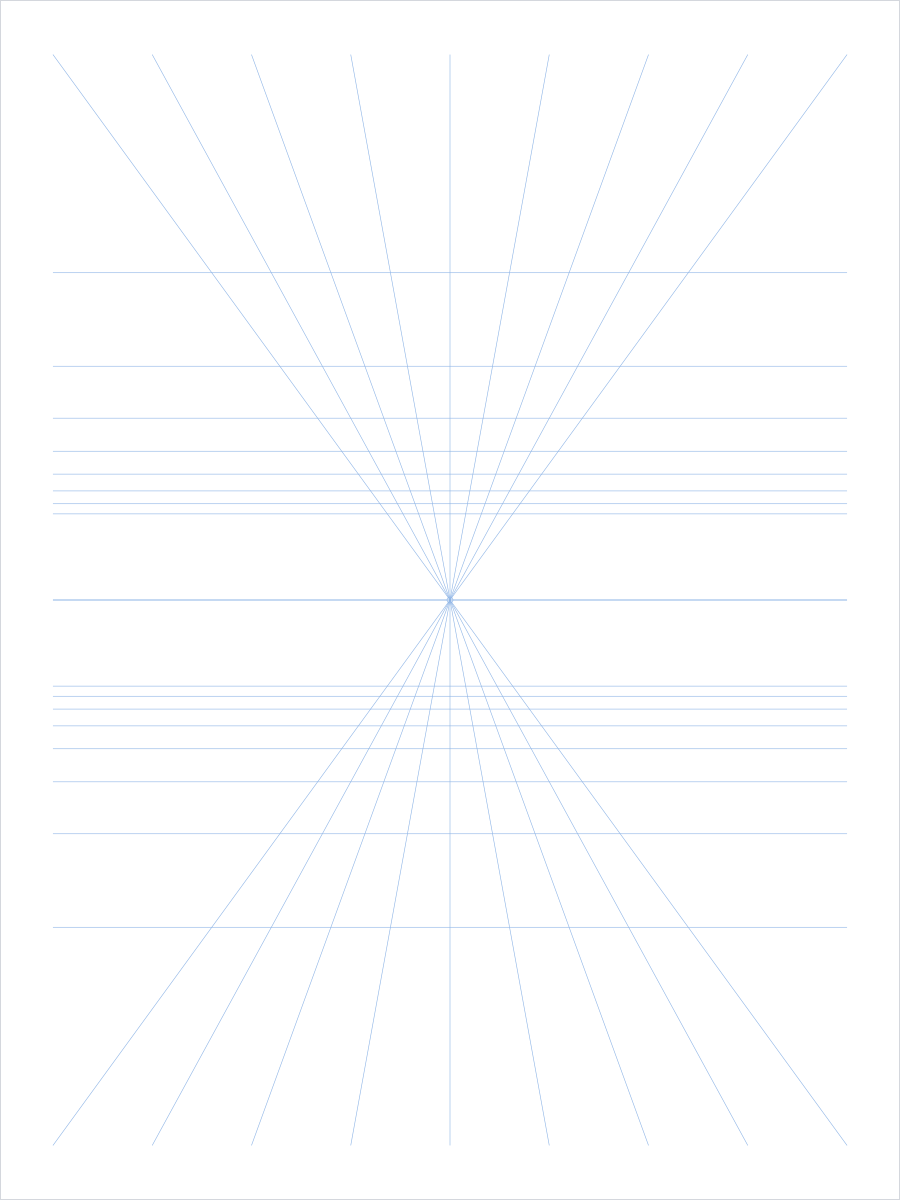
Best Uses
- Sketching a hallway or room with one vanishing point
- Practicing receding edges in streets and interiors
- Laying tracing paper over a light drawing guide
Print Setup
The default file is generated for LETTER paper in portrait
orientation. Print at actual size when spacing matters.
The linked PDF is a static file, so it can be downloaded, printed, and shared even if custom generation is unavailable.
A guide that converges instead of staying parallel
In a one-point drawing, edges that run away from the viewer meet at a single point on the horizon. The printable sheet marks that point and fans light rays toward the paper edges. Horizontal depth guides get closer together near the horizon, giving you places to align floors, ceilings, shelves, and paving.
The vanishing point is centered left to right. Presets move its height, so a high horizon shows more floor while a low horizon shows more ceiling. A sparse grid leaves room for freehand work; a dense one gives more construction lines.
How to use the PDF
Download the ready-made Letter sheet from the top of this page. For a different composition, choose the horizon and guide density, then generate a Letter or A4 PDF. Light blue lines are meant to sit behind your drawing; the color and weight controls can make them darker if your printer needs it.
Begin with a rectangle facing the viewer, then aim its receding corners at the vanishing point. Draw vertical and horizontal edges as usual. These guides are for perspective sketches, not exact room dimensions. If you need a measurable, parallel 3D drawing grid, use the isometric paper page instead.