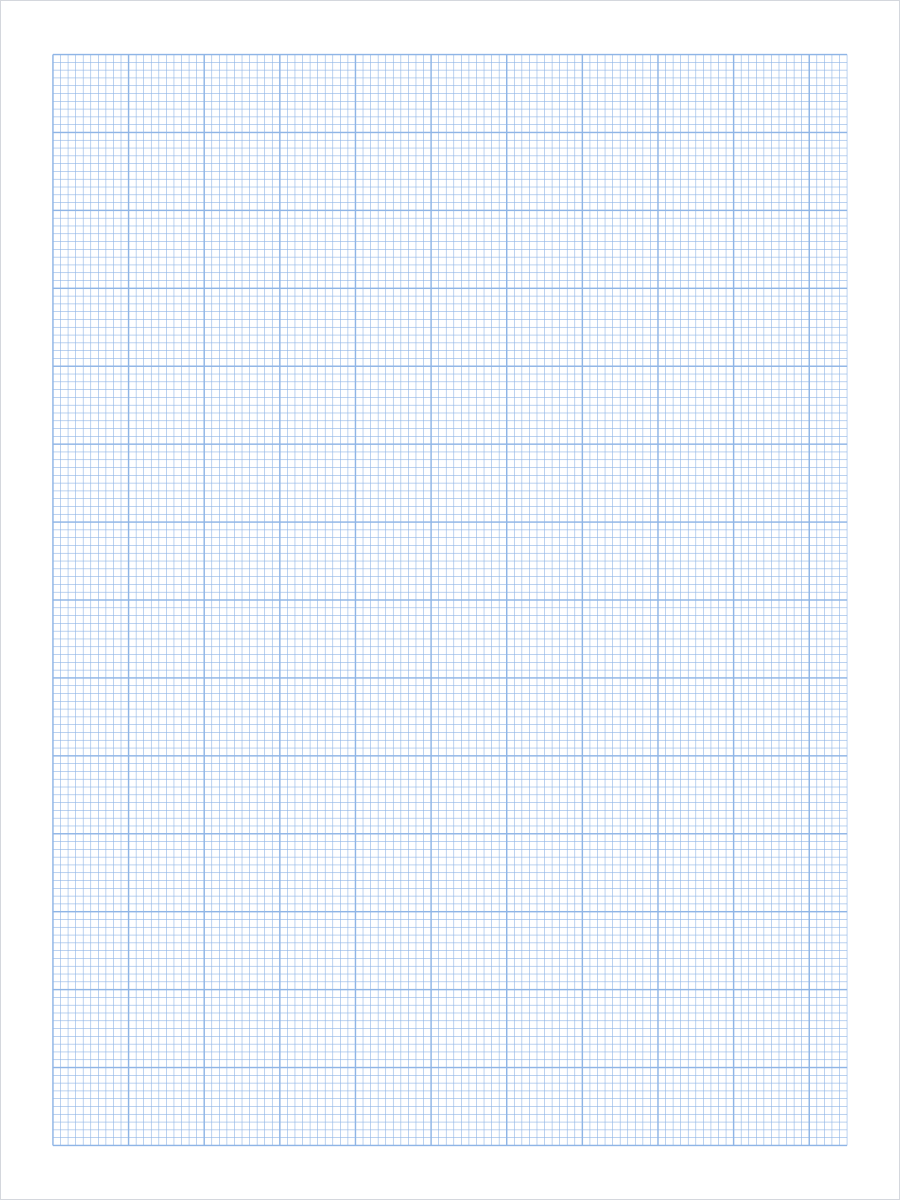
Best Uses
- Charting an original cross stitch design at its finished size
- Checking a pattern fits the fabric, hoop, or frame you already own
- Redrawing a bought chart to resize, recolour, or crop it
- Blackwork, needlepoint, perler beads, and pixel art on a counted grid
Print Setup
The default file is generated for LETTER paper in portrait
orientation. Print at actual size when spacing matters.
The linked PDF is a static file, so it can be downloaded, printed, and shared even if custom generation is unavailable.
Why cross stitch paper is sized by count
Every other sheet on this site is named after its square: a quarter inch, a centimetre, five to the inch. Cross stitch paper is named after the cloth instead. 14 count Aida has 14 holes to the inch, so a 14 count grid has 14 squares to the inch and one square is 1/14 inch, a shade under 2 mm. The number is not a spacing picked for comfort. It is a property of the fabric in your hand.
That is what makes a count-matched sheet worth printing instead of reaching for ordinary graph paper. A chart drawn on it is the finished piece at actual size. Hold the sheet against the fabric, or inside the hoop or frame you meant to use, and you can see whether the design fits before a single stitch goes in. No amount of counting on a quarter-inch grid answers that question, because a quarter-inch grid is four to the inch and your cloth is fourteen.
The trade is that the squares are small. Under 2 mm is enough for a symbol or a block of colour and not enough for a legible letter. If you are drawing symbols for someone else to follow, chart the geometry here and keep the key on a separate page, or rough the shape out on 1/4 inch graph paper first and transfer it here to check the size.
Choosing between 11, 14, 16, and 18 count
14 count is the default because it is what most Aida sold over a counter is, and because it sits where a design is fine enough to shade and still coarse enough to finish. A full Letter sheet holds 105 squares across and 140 down, so a design that fills the page stitches at 7.5 by 10 inches.
11 count is the coarse end: 2.3 mm squares, 82 by 110 to a sheet, and the count usually recommended for a first project or for stitching with children, because the holes can be found without a magnifier. Going the other way, 16 and 18 count buy detail rather than size. The same 105 by 140 design shrinks from 7.5 by 10 inches to 6.6 by 8.8, then to 5.8 by 7.8. The chart does not change; only the cloth does.
Evenweave and linen are counted differently and it catches people out. 28 count linen is normally worked over two threads, which puts 14 stitches to the inch, so it wants the 14 count sheet and not a 28 count one. 32 count over two is 16. Print the sheet that matches your stitches per inch rather than the number printed on the fabric band.
Printing it at true count
A count-matched sheet is only count-matched if it prints at 100 percent. Choose actual size and turn off fit to page and shrink oversized pages. Both rescale the sheet by a few percent, which is invisible on the paper and enough to leave you charting on a count you did not ask for.
Check one sheet before you chart on it. Measure ten squares rather than one, because a single 1.8 mm square is smaller than the error in reading a ruler. Ten squares at 14 count should be 10/14 inch, or 18.1 mm; at 11 count 23.1 mm, at 16 count 15.9 mm, at 18 count 14.1 mm. The bold lines make this easy, since they sit exactly ten squares apart and you are measuring between two lines you can actually see.
The default sheet prints light blue, which stays visible under pencil and lets symbols read on top of it. Switch the colour to gray or black before photocopying or scanning a finished chart, because light blue often drops out of a copier entirely and you would be handing someone a blank page. If the grid comes out too faint to count at 16 or 18 count, raise the line weight one step rather than darkening the colour: the bold lines scale with it and the ten-square blocks stay readable.